Snack Time – Cheese Crackers – 2

I love cheese crackers. I used to love cheez-it crackers a lot when I was a kid. They are way too salty for me now. The cheese nips are ok but also too salty. As for goldfish, they’re bland. They don’t even taste like cheese to me, let alone cheddar. Then of course you have the store brands. The store brands always have less salt. My fav is the cheese bits from kroger.

Unfortunately, even the store brands are getting expensive nowadays. Why do I not mention the carb levels? Please, we all know those things aren’t good for you, I don’t have to point it out again. So I went on a search for a homemade cracker. I found a lot of fake crackers but I want a real cracker that’s grain free.

I found one. I tried it. Hubby tried it. We like it but you know I have to tweak it somehow. Honestly, the recipe tastes good just the way it is but it has issues with the methodology. I made it her way and I found myself peeling parchment paper off the backs of the crackers. They didn’t crisp up evenly, half of them were kinda chewy <though still tasty>. She suggests adding cheese powder or food coloring to make them bright orange but I don’t care what color they are and I doubt I’m the only person who can taste food coloring. Upon my third reading of her recipe post I realized the comments from her readers were more helpful than her actual post was so I’m gonna post the recipe here and point out how to make this a less aggravating process 😉

Be aware that this makes a small batch of crackers. While I have, in a fit of munchies, eaten almost all of them in one sitting, I think there are 4 servings per batch. I won’t tell you how many crackers it makes either because there is no way your crackers will be like my crackers. Sometimes I make small crackers, sometimes I make big crackers and sometimes I end up making both. No matter what size I make the whole batch fits in one of my soup bowls. They are way more filling than store-bought crackers. If you were to fill a 1 lb box with these I couldn’t eat them in one sitting even though I could eat that many cheese bits. Dusty, our cat, loves them too but since I know how much cheese is in them she only gets half of one cracker.

I’ve made them both with and without the little hole in the center of the cracker. It honestly makes no difference to how the crackers cooks. If you want a hole, add a hole. If you can’t be bothered, then don’t bother.

The worst thing about this recipe is rolling it out. Don’t roll it directly on the counter as you will never get them off again. Don’t roll it between sheets of wax paper as the dough sticks really, really badly to wax paper, use parchment paper instead. Do roll it out thin. If it’s too thick they will be chewy in the middle, thinner is better when it comes to crackers. But then if it’s too thin, it won’t want to peel off the paper. You MUST separate the crackers and space them out a little before you bake them. If you don’t then only the ones on the edges with get crispy and they WILL stick to that paper while they bake, which means you get to play the “peel tiny bits of paper off the crackers later” game. That game sucks btw.

This is one of the few recipes I have converted to metrics since the orig was half and half. The switch for that is under my scale which makes it annoying to go back and forth.

You can find a pic of my first batch on my instagram. I can’t figure out how to get it from there to here LOL.

Cheese Crackers – 2

100g almond flour

8g xanthan gum

4g salt

120g shredded cheddar cheese <I use medium cheddar>

3 T water

Preheat your oven to 350F.

Dump the dry ingredients into a medium sized bowl and stir well with a fork.

Add the cheese and stir again. Make sure the cheese is evenly coated in the dry ingredients.

Dump in the water and stir yet again. Once it starts to come together as dough you want to stick your hand in and form it into a nice ball.

Transfer the ball to a sheet of parchment paper. Pat it into a rectangle and cover it with another sheet of parchment paper. Roll the dough out, flipping it over occasionally and peeling off the parchment paper to help it stick less before recovering with the paper and rolling again.

**** I keep them from sticking by rolling them out, then peeling away the top paper. Next, I place the paper back down on the crackers and pat it gently before flipping the whole thing over so the bottom paper is now on top. Then I carefully peel off the new top paper and lay it on the baking sheet. Using a pizza cutter <or knife> cut the rolled dough into strips, rotate it and cut again, turning the strips into squares. Carefully lift each cracker and transfer them to the paper-lined baking sheet, being sure to leave a small space between the crackers. The whole batch should fit on a 10″ x 15″ baking sheet. If you plan to poke holes in your crackers do it after you move them to the baking sheet as the holes make them more fragile to handle.

Once you have the crackers laid out on the baking sheet, pop them in the oven for 25 minutes. Don’t bake them until they start to brown because they will taste burnt.

Pull them out of the oven and set the pan on the counter to cool. They won’t be crispy until they are cooled. I know that’s weird but it’s true.

Snack away 🙂

There are probably other cheeses that will work with this recipe. Let me know if you try any!

Have a happy!
TT

Posted in Chips etc., Cooking Tips, Low Carb, Phase 2, Recipes, Snacks | Tagged , | Leave a comment

Golden Vanilla Cake – 0

I love to bake things. My mom was a big baker. So I was surrounded by cakes, pies, cookies and pastries while growing up. I have quite a few of her recipes and if I lived further north with less humidity I could do more of them. So many really good dessert recipes are sensitive to humidity as well as elevation. At only 19′ above sea level here, I had to adjust to that too. Most recipes/cookbooks will give tips about baking in higher elevations but nobody mentions lower elevation and humidity issues.

This recipe is one of the few cakes I do from scratch as my hubby really likes cakes made from a box mix. I make this cake probably once a month because we love it so.

You can make this as a layer cake if you like. It makes 3 nine inch layers. I prefer to make it in an angel food cake pan. I wouldn’t use a bundt pan or a standard tube pan because it won’t want to come out in one piece, it’s more delicate than it looks. With an angel food cake pan, it bakes up nice and tall and once it’s cooled a bit, it loosens easily from the sides and you just lift out the center to finish the cooling period. My pan is a 9.5″ x 4″ non stick pan. I wouldn’t try to bake a real angel food cake in it but it’s perfect for this cake. This pan also holds 2 box cake mixes perfectly.

I do not do the grease and flour thing on my cake pans as I think it makes the cakes taste odd. I either serve them from the pan, chill them thoroughly before removing the sliced cake or line the bottom of the pan with waxed paper so it pops out easily if I plan to make a layer cake.

For the milk in this recipe, I do not use regular milk. I prefer to use condensed milk that has been reconstituted. I think it makes a noticeable improvement in the final cake. If all you have available is powdered milk, don’t make this recipe, it ruins the cake.

You can do this entire recipe by hand but a hand mixer will help a lot when it’s time to beat the egg whites. After a half dozen times of making this cake, I broke down and bought a new mixing bowl to make it in since my large bowl was barely large enough. My new bowl is a 3-quart size and perfect for this cake.

Golden Vanilla Cake – 0

2 2/3 C flour <I prefer unbleached all-purpose flour. cake flour is not necessary>

2 1/4 tsp baking powder <make sure there are no lumps in your baking powder>

1/2 tsp salt

1 C butter/margarine

2 C sugar

4 large eggs

1 1/2 tsp vanilla <use a high-quality extract for this>

1 C milk

All your ingredients need to NOT be chilled for this. Don’t make up the milk until you need it.

****Be aware that once you take the eggs out of the fridge they are only safe to use for the next 2 hours. I usually set out my butter to begin softening before I take any other ingredients from the fridge.

Dump your butter into a large bowl. When it is soft add in the sugar and cream it well. Beat until fluffy.

Beat in, one at a time, your 4 egg yolks. Reserve the whites in a separate bowl.

Add in the vanilla and beat until fluffy. I do not use a mixer or a whisk to beat the batter.

If you are using condensed milk, make it up now. I make mine in a 1-quart jar, just dump in the can of milk and an equal amount of water, screw the lid on and give it a few shakes. No muss, no fuss.

Add in 1 C of the flour, all the baking powder and the salt. Mix well.

Add in half of the milk and mix well.

Add in half the remaining flour and mix well.

Add in the rest of the milk and mix well.

Add in the last of the flour and give it a good beating. Set this aside.

Now is when I preheat my oven to 350F. I do this for 2 reasons, the first being I want my egg whites to remain cool until I am ready to whip them, the second is my kitchen is tiny so it heats up quickly which, in the summer, is never fun.

You can use a whisk if you like but I prefer a hand mixer to whip the egg whites. Whip them until you get stiff peaks but not dry.

****There are basically 3 stages to whipping up egg whites. A soft peak is when you whip it enough that when you draw out the whisk or beater the whites form a lovely peak that immediately droops and folds over to touch itself. A firm peak is when the peak droops over but leaves a small gap so you can still see its shape easily. A stiff peak is when your peak doesn’t droop at all but might just lean a bit. If you whip them so long that your peaks are stiff but no longer look glossy then you have whipped them to the dry stage. You don’t want dry peaks for this recipe.

Tip the bowl of egg whites to slide them gently into your bowl of batter. Grab a spatula and fold them gently into the batter until the color is even again. Do not overwork the batter!

Gently pour the batter into your pan <or pans if you are doing layers>. A well-made angel food cake pan will not leak so you don’t need to place a baking sheet under it.

Slide the pan into the center of your oven and bake at 350F for 1 hr 15 min.

When a knife gently inserted into the middle of the cake comes out clean it is done. Set the finished cake on the counter to cool until you can touch the pan safely. You do not need to invert the angel food cake pan but it is safe to do so as long as your cake is not taller than the pan legs. Once you can safely touch the pan use a thin, non-metal, spatula or dough scraper to loosen the cake from the side of the pan. Grab the center tube, give it a twist then lift the cake out of the pan.

Despite the weight of this cake, it is delicate. I set the cake, while still on the pan base, on a plate and pop it into the fridge to cool it completely before separating the cake from the base of the pan. I use my plastic dough scraper for this. If you choose to separate the cake while it is still warm the odds are the cake will crack and break into large chunks. Been there, done that 😉

We adore this cake as is, no icing needed, but you do it however you like. Its flavor is reminiscent of an angel food cake without being near so fussy to make. This cake also freezes very well compared to other cakes.

Have a happy!

TT

Posted in Cooking Tips, Desserts, High Carb, Recipes | Tagged | Leave a comment

Happy Anniversary – Creamy Broccoli Soup – 0

According to WordPress, today is my 12th anniversary with them. Yay me!?

Wow. 12 years of typing at people. And most of you never type back, which is cool as long as you hit like if a recipe seems worthwhile to you 🙂

I’m currently blogging from my hubby’s pc for the foreseeable future. My cpu fan died and we all know how quick I am to repair my machine, so there will be no pictures as they are all stored over there on my boat anchor. I will attempt to remember to add pics later.

Enough of the schmoozing, let’s talk soup.

My broc soup is not like other people’s. There’s no cheese in mine for starters. I don’t like cheese with my broc in general, so why would I ruin a whole pot of soup with it? My soup is not vegetarian but it could be I guess. It’s definitely not vegan but then it wouldn’t be a creamy soup if it was.

Sadly, it is also not low carb. Oh, I have made several LC versions but honestly? they all sucked. We ate them but they still sucked. It turns out I don’t like plain broccoli soup, go figure.

So what IS my soup like? It’s awesome, read on 😉

Creamy Broccoli Soup – 0

40 oz bag of frozen broccoli <chopped or florets>

2 1/4 lbs of cooked, peeled potatoes or 4 15oz cans of whole peeled potatoes

6 C chicken broth

1 Tbsp dried basil or 6 good sized leaves, chopped

2 Tbsp celery leaves, chopped

2 sticks of butter/margarine

1 tsp salt

1/4 tsp white pepper

2 heaping spoons of cornstarch

1 12oz can evaporated milk

1 Lg dollop of sour cream

2 handfuls of diced frozen onion or 1 medium onion, diced

In a large pot melt 1/2 of a stick of butter, toss in the onions and saute until the onions are soft.

Add the rest of the butter and melt it too.

Once all the butter has melted, dump in the broth, broccoli, celery, basil, salt and pepper. Bring to a simmer, then cover and simmer until the broccoli is very, very soft.

Once the broccoli is super soft, crush the potatoes and add them in. If you are using canned potatoes, drain them before crushing. Allow the soup to come back to a simmer. The broccoli should fall completely apart from cooking before you add in the dairy products.

In a separate bowl, dissolve the cornstarch into the milk.

*** I’ve never actually measured how much cornstarch I use as what I do makes sense to me. I don’t use a measuring spoon for this, I use that large spoon that we all call a tablespoon <bigger than a teaspoon but smaller than a serving spoon>, shove it into the cornstarch and see how much it can hold. That’s what I call a heaping spoon of cornstarch. You’ll need two of them.

Once the cornstarch is completely dissolved, using yet another bowl, slowly stir the milk into the sour cream. I use the same method for dolloping as I use for measuring cornstarch, I also use the same size spoon. You really don’t want lumps, which is what you will get if you add the sour cream to the milk mixture.

Once the sour cream and milk are smooth slowly pour this into the pot while stirring the simmering soup. Continue to heat the soup while stirring constantly <the soup will scorch VERY quickly if you don’t keep stirring until the heat is turned off>. At the FIRST sign of boil remove from heat immediately. Cover the pot and let sit for 15 minutes to finish the thickening then serve it up.

This soup freezes well but must be slow thawed in the refrigerator overnight and reheated gently to avoid curdling the milk. Never microwave it above power 5.

This is not a quick soup. It takes me 2 1/2 – 3 hours to make it as I use frozen broc, my own frozen chicken stock and fresh potatoes. Thawing the stock may be quick but you cannot rush the boiling of the potatoes. Peel them while they are still hot but don’t burn yourself. I think the potatoes cook faster than the broc.

Have a happy!
TT

Posted in High Carb, Recipes, Soups & Stews | Tagged , , | Leave a comment

Vanilla – Paste v Extract

All my life I’ve been a vanilla extract kind of baker. So was my mom, so were my grandmothers and so was my greatgrandfather. I don’t know about anyone before that but I’m going to assume earlier generations were too. That being said, I tried something new over the last few months and wanted to share my thoughts for those of you who are also considering this.

I’ve already admitted to watching cooking shows. I like to watch foreign cooking shows the most. There is nothing more entertaining than watching people whose language you don’t speak, cook in new ways, with ingredients you might not have seen before.

A couple months ago I was watching some english speaking nutjobs attempt to make american foods. It was ridiculous. However, they did use something called vanilla paste. I’d never heard of it so I looked it up. Then I checked my local stores. Only 1 store carried it and it was very not cheap. But I was intrigued so I bought one.

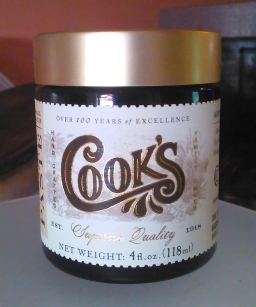
IMG_20230210_112559When I brought my order home and unpacked it I was shocked to see how small that jar was. For $13 USD I expected a bit more I guess. But it is a cute little jar.
The jar is half empty now as I’ve used it several times in different recipes. It gives a delightful light, clean vanilla taste to baked goods. Unfortunately I had to use twice as much of the paste as any recipe called for just to be able to taste it at all. So not only is it expensive to begin with but the cost literally doubled with having to use twice the amount. It does not taste better than the extract in my opinion, just different. I’ve never used actual vanilla beans as they cost even more and I have to pay attention to my budget. If I didn’t bake very often I could almost see using the paste but I bake all the time to keep my hubby in the sweets he adores so it’s not at all cost effective for me.

I did blind taste tests with my hubby by making 2 batches of whatever and not telling him which one used the paste or the extract. He couldn’t tell them apart but I could. I much prefered the dishes with the pure vanilla extract over the paste. It didn’t matter if it was a cake, a bar or a batch of cookies, the end result was always the same. The extract gave a better end product in my opinion.

While it is entirely possible that the only brand available to me is not a good one, I won’t be buying this again. I leave it to you to do this test for yourself. If you do I would love to hear your thoughts on how they compare.

Have a happy!
TT

Posted in Food Review, Thoughts | Tagged | Leave a comment

Beast Pizza – 4

IMG_20230112_210918Not counting pepperoni this is my favoritest pizza ever and hubby agrees. This pizza was inspired by a cheesesteak sandwich. No, there is no cheese whiz on it, get over yourselves. I’ve made it with thinly sliced roast beef lunchmeat and it’s good that way but using leftovers from a real roast is way better so you might have to plan ahead for this one unless you already have the roast waiting. This pizza is also good using leftover roast chicken instead of beef but the beef version is still our favorite.
Beast Pizza – 4

leftover roast beef

pizza crust

alfredo sauce

sliced mushrooms

diced onions

sliced provolone cheese

sliced swiss cheese

diced bell peppers <opitional>

Assuming you have the beast handy and the crust made already …

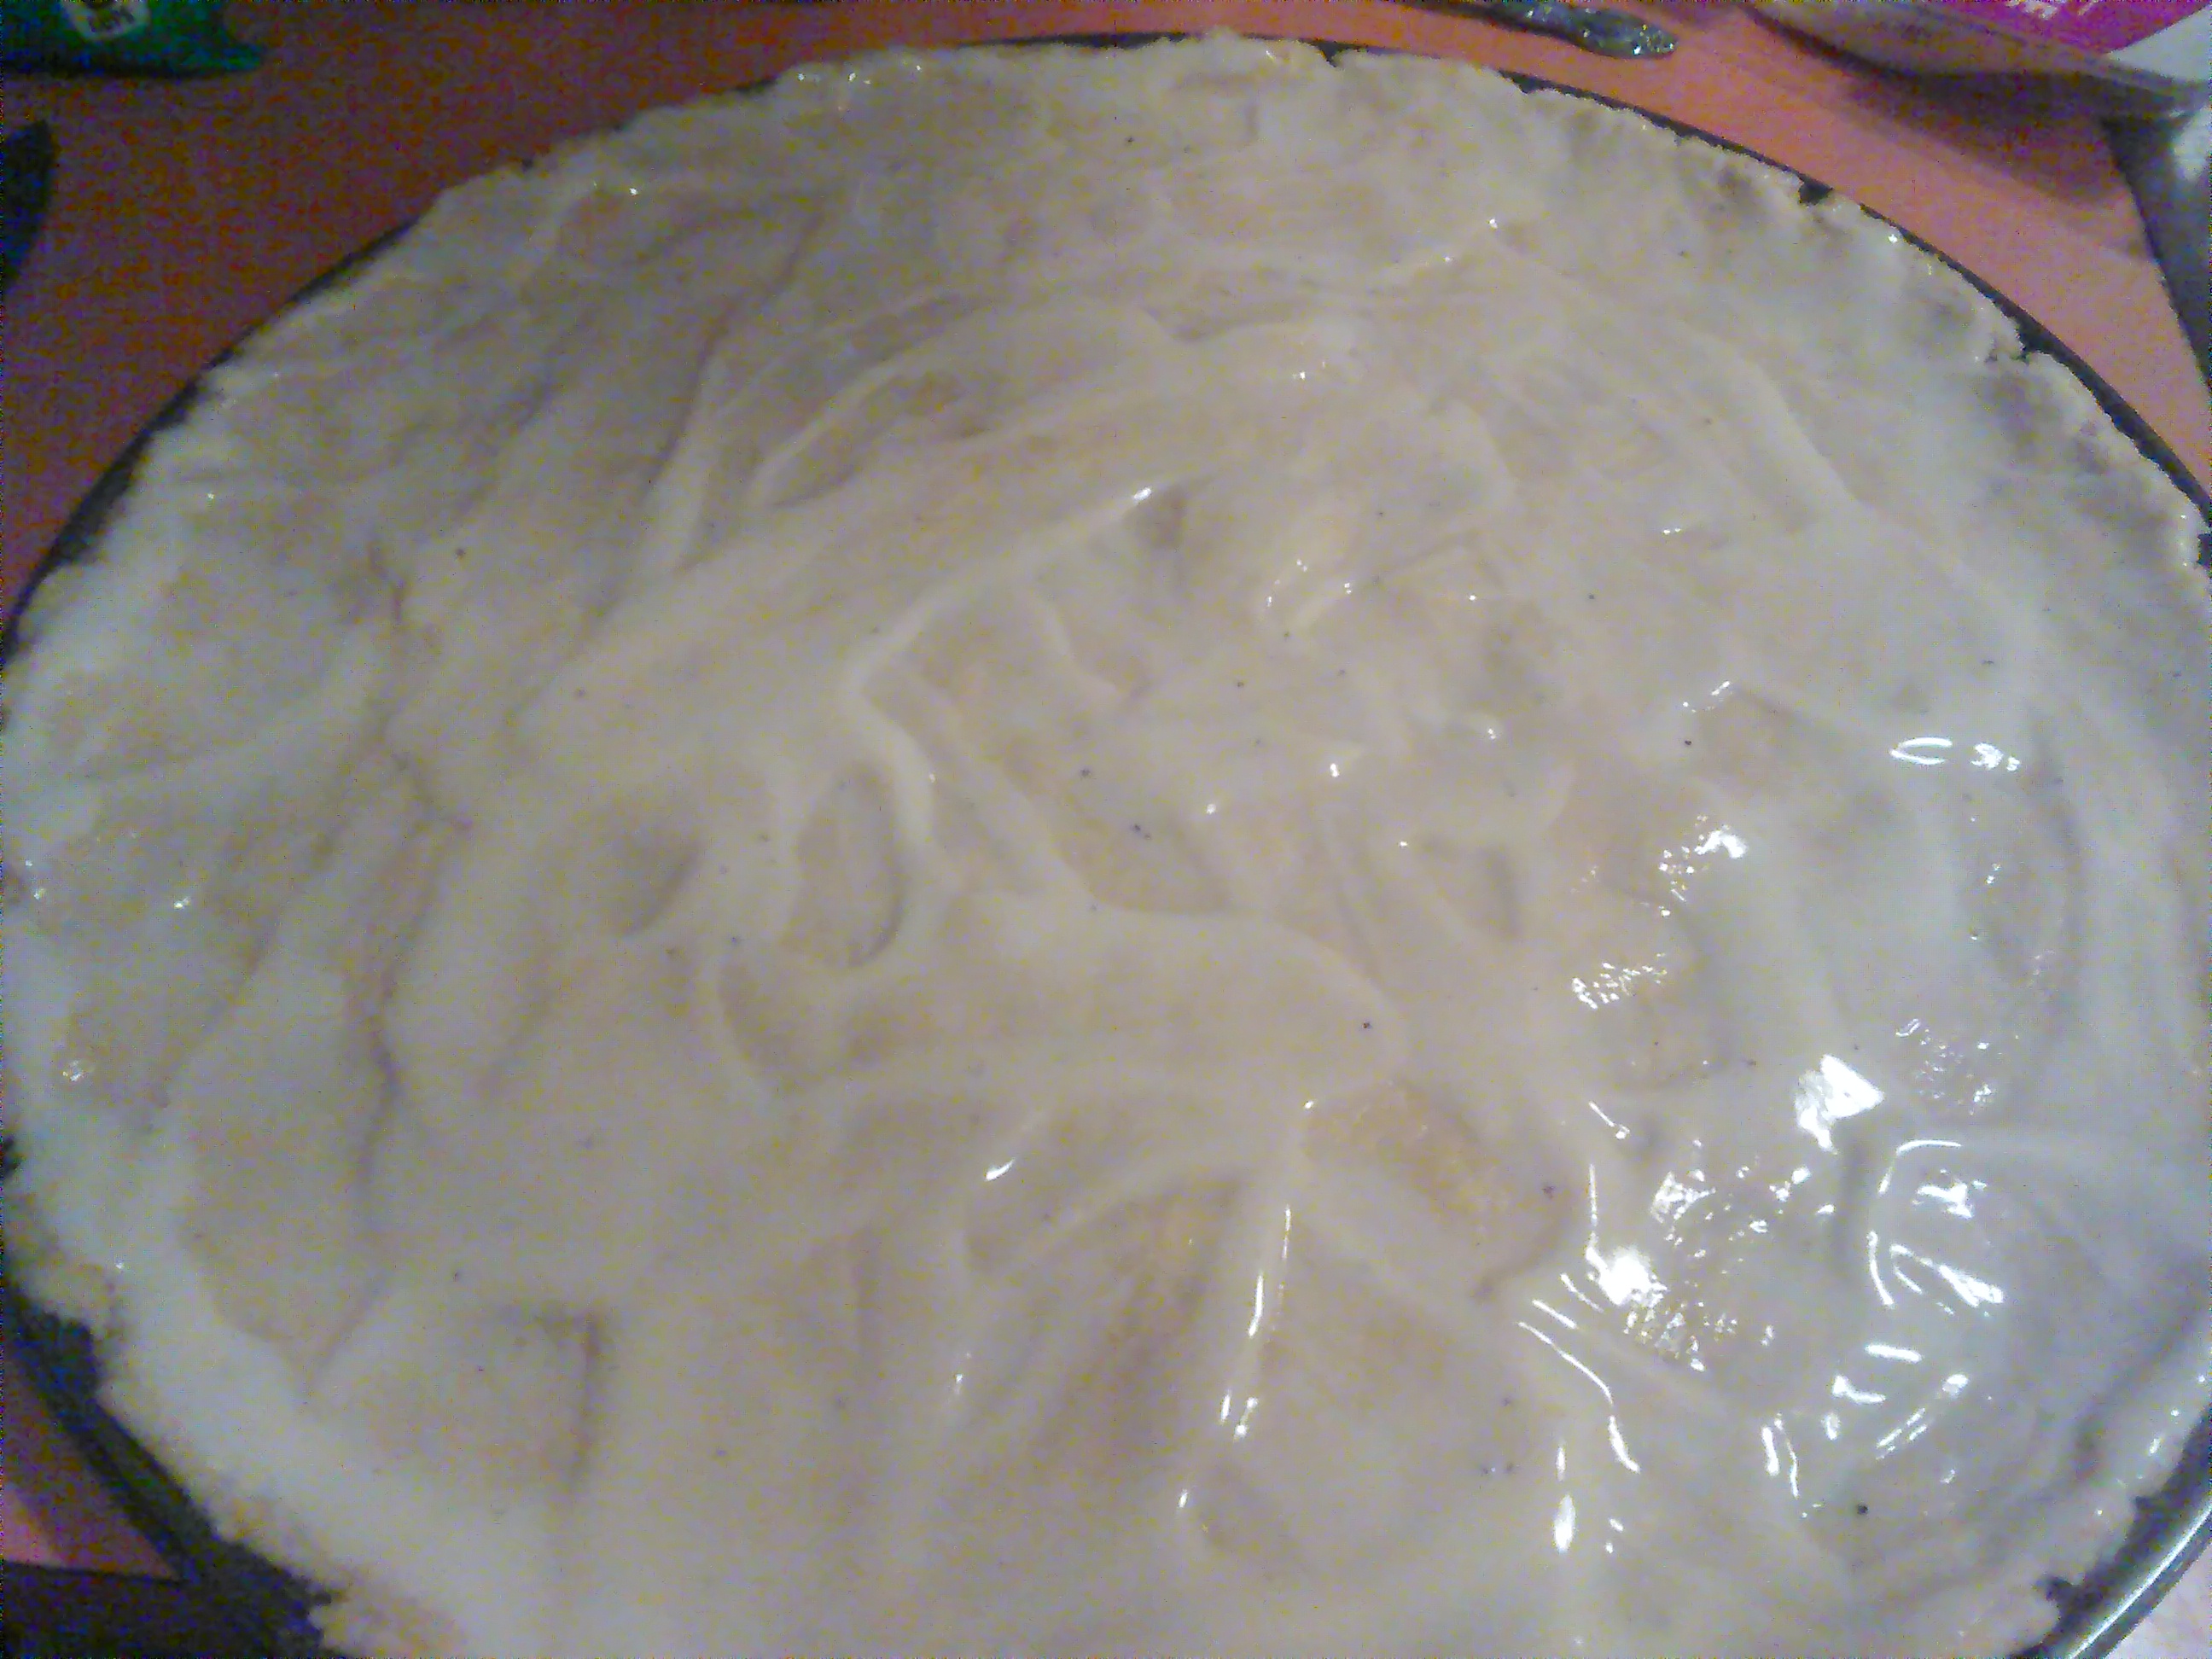
First you spread on a layer of the alfredo sauce. If you prefer a thin crust like we do then don’t use too much sauce or the crust will end up soggy. And no it doesn’t matter what kind of crust you use, they all get soggy with too much alfredo sauce.

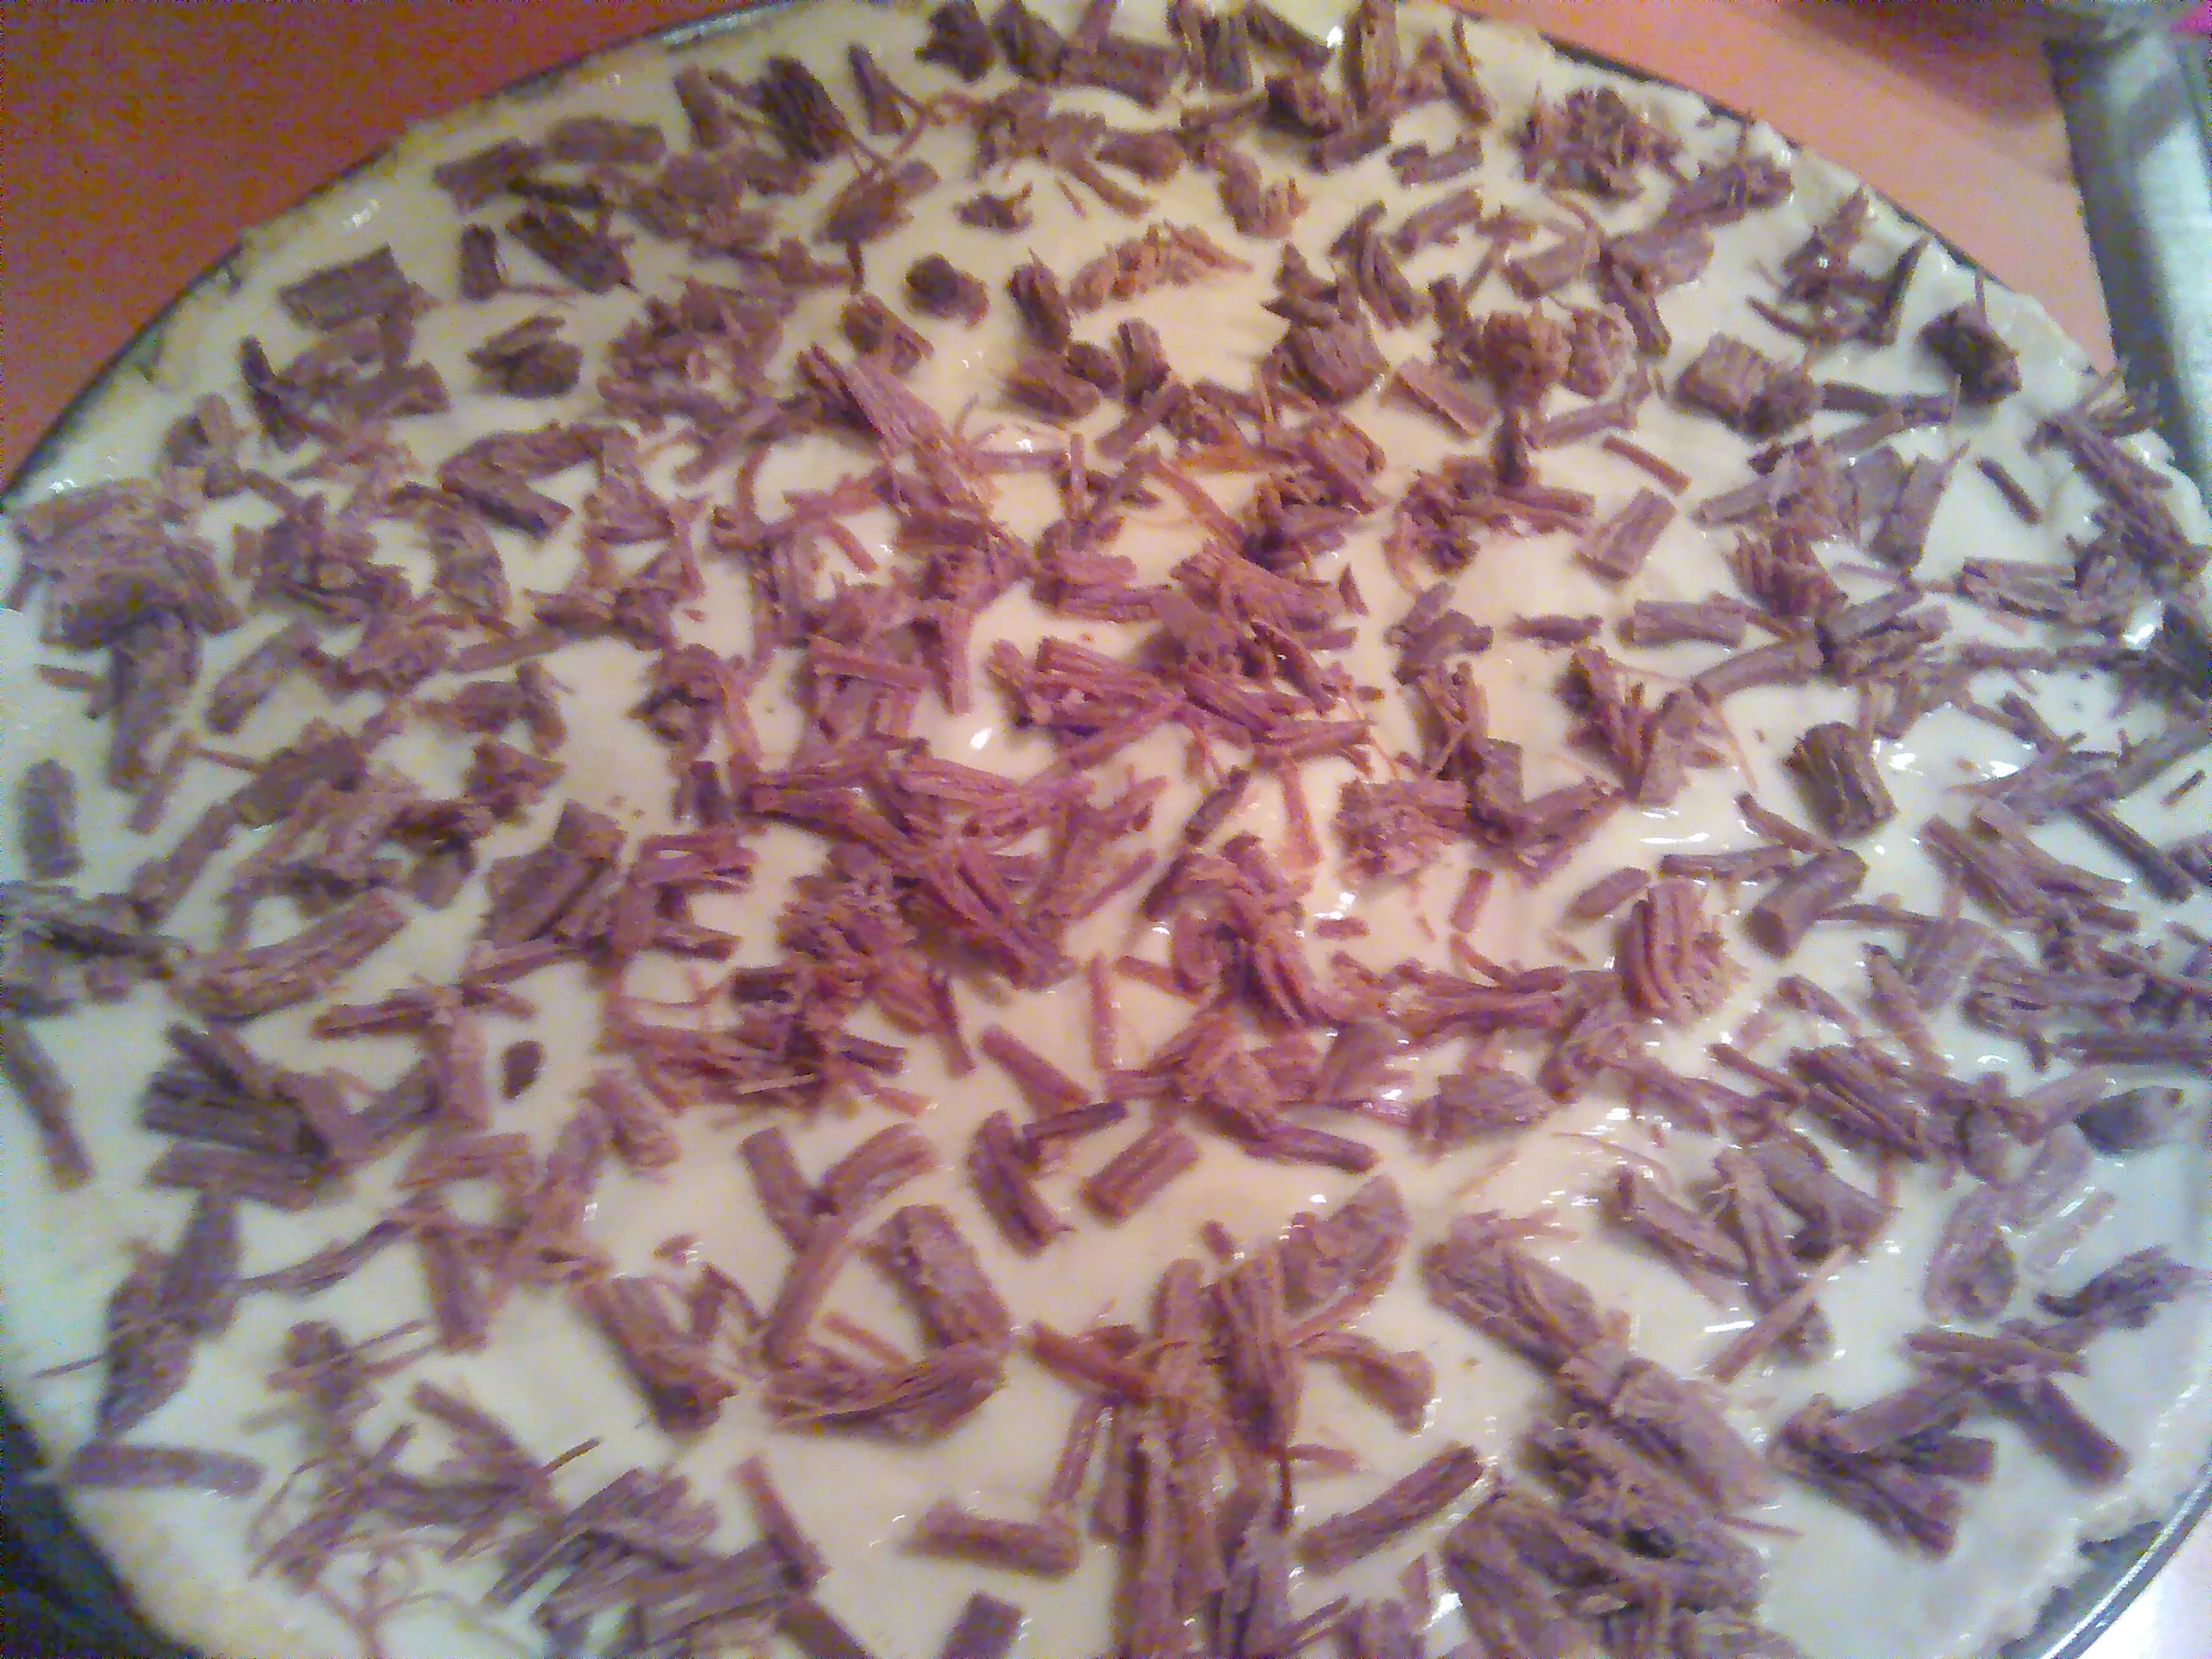
The next layer is the beast. Shred and spread to make yourself happy. Not enough beast is a waste and too much beast can weigh down the crust and make it floppy when you go to pick it up.

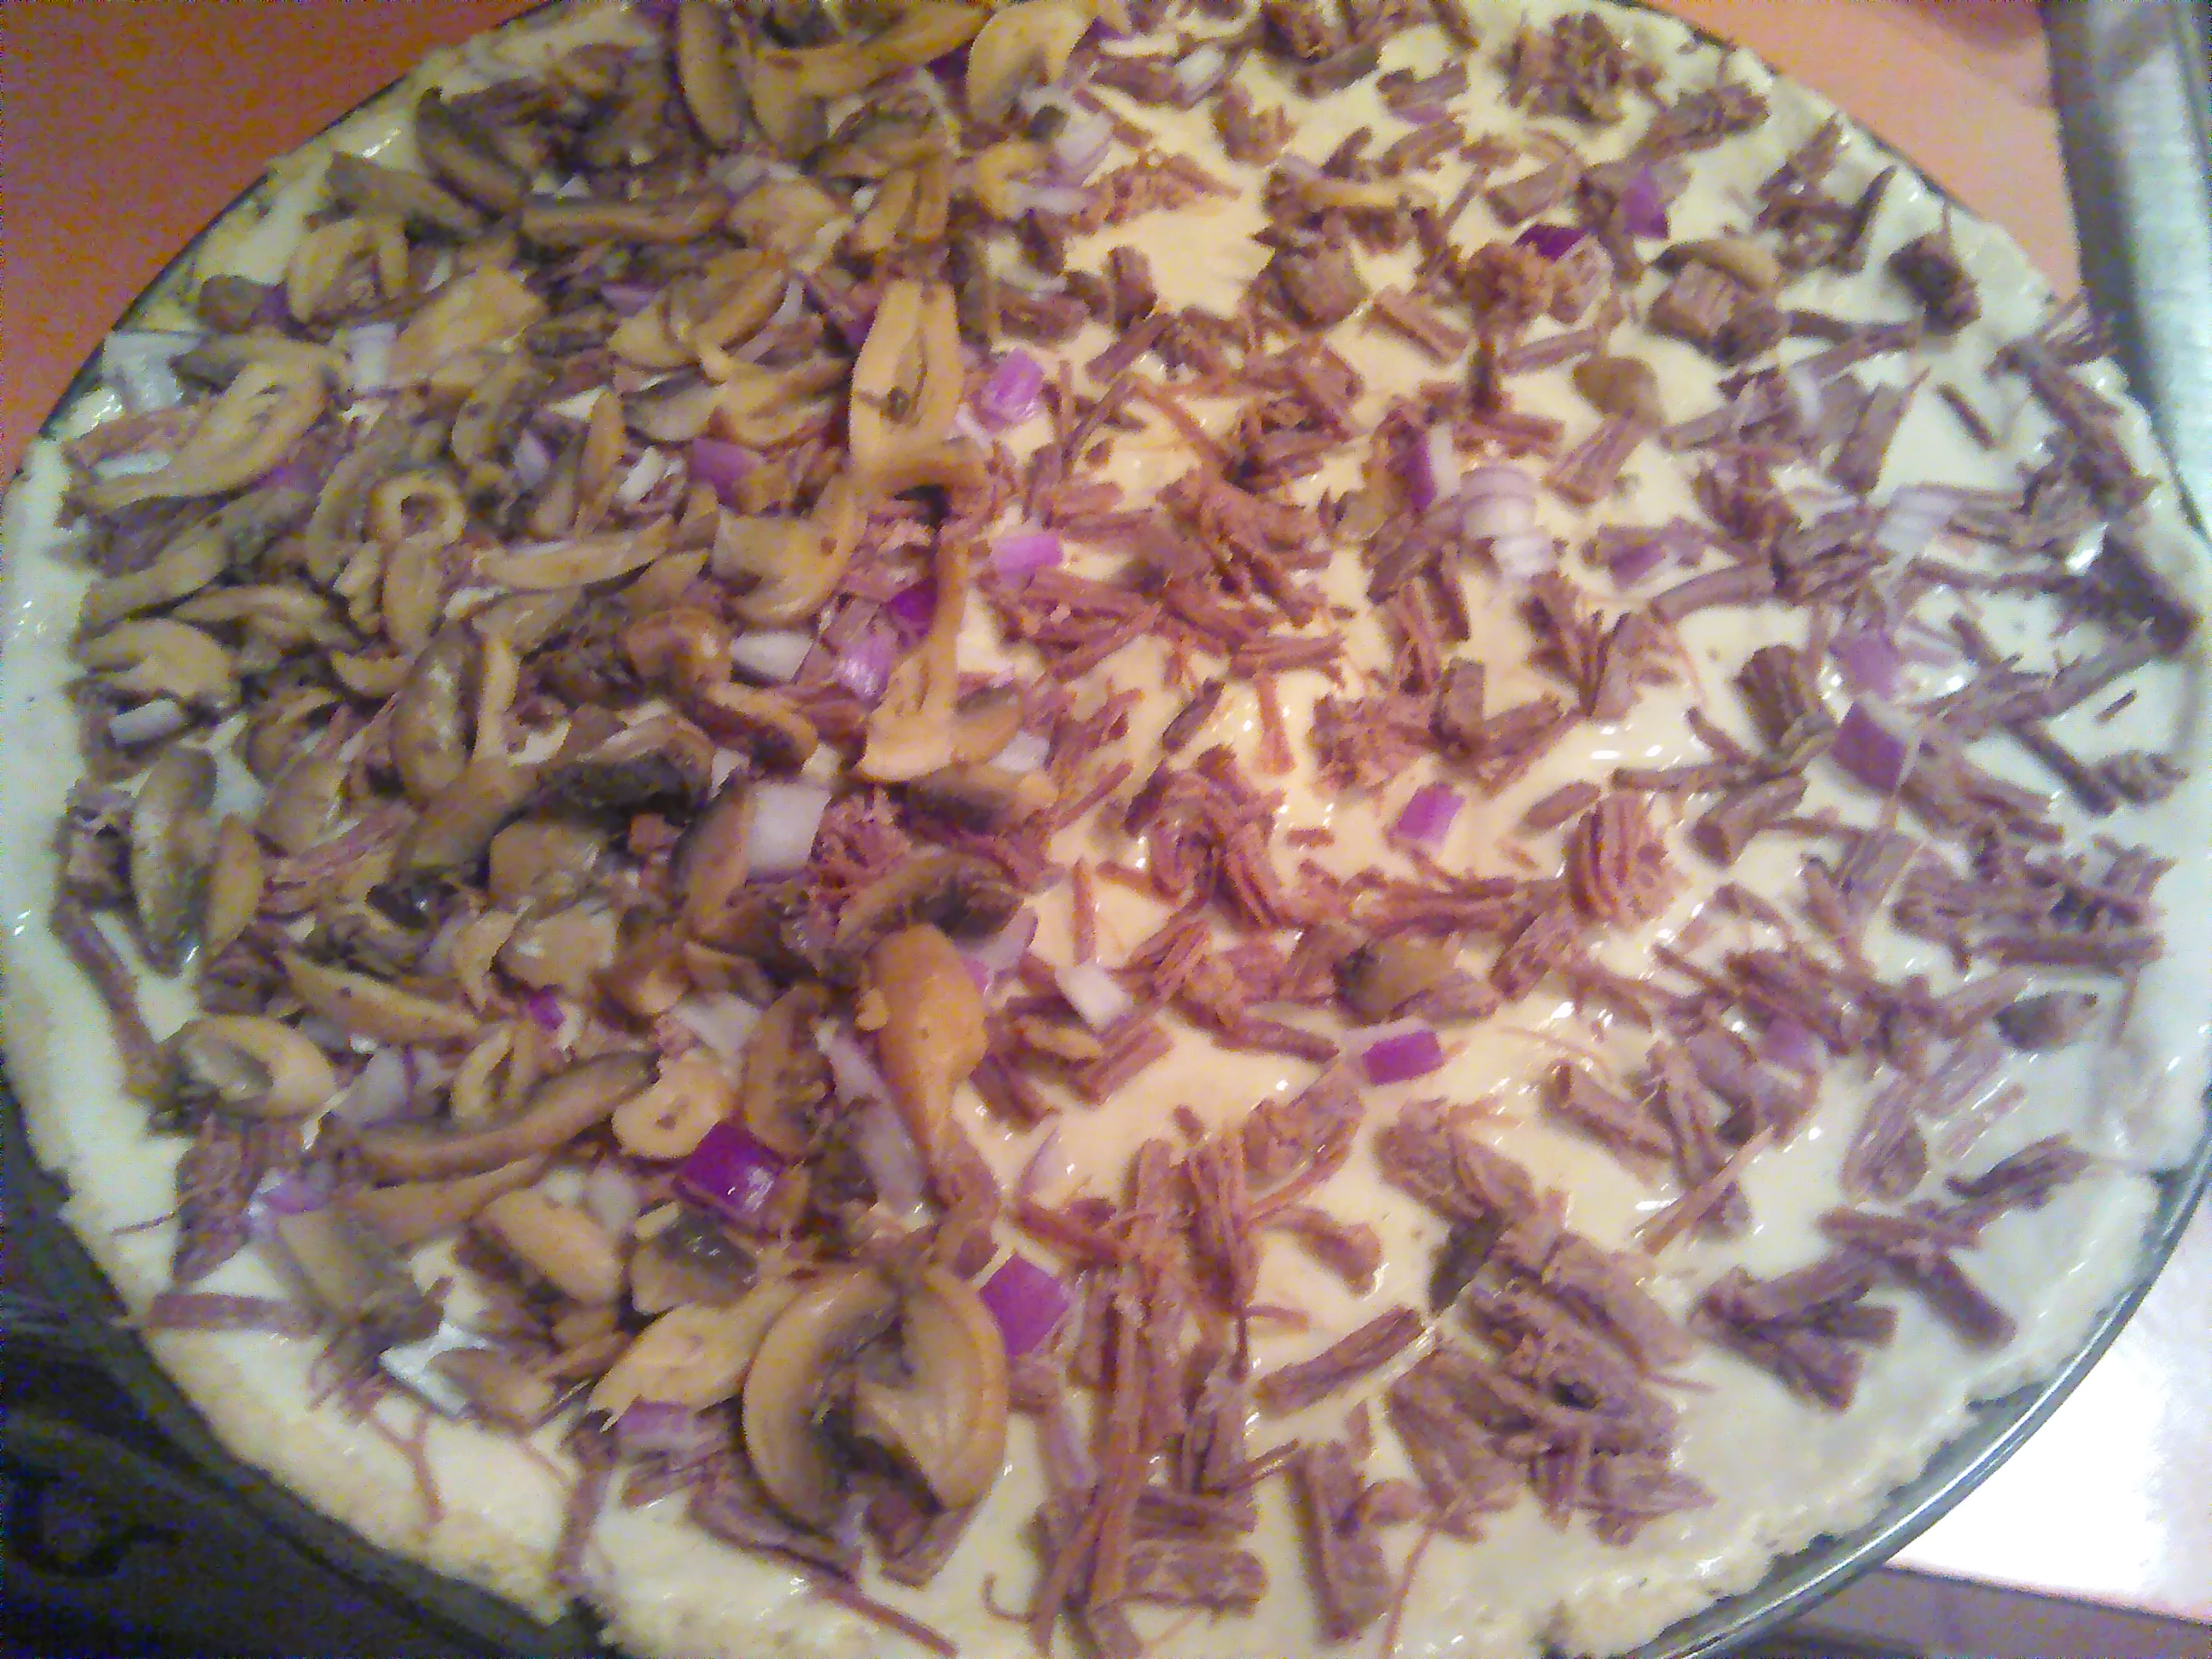
After the beast goes on we add the vege. Hubby does not like mushroom or onion on his half of the pizza but if I use a light hand he’s ok with it for this particular pizza. I however adore both the mushrooms and onions and prefer a nice thick layer of vege on my half. I used purple onions this time. This is where you add the bell peppers if you want them.

IMG_20230112_201915IMG_20230112_202454IMG_20230112_203053

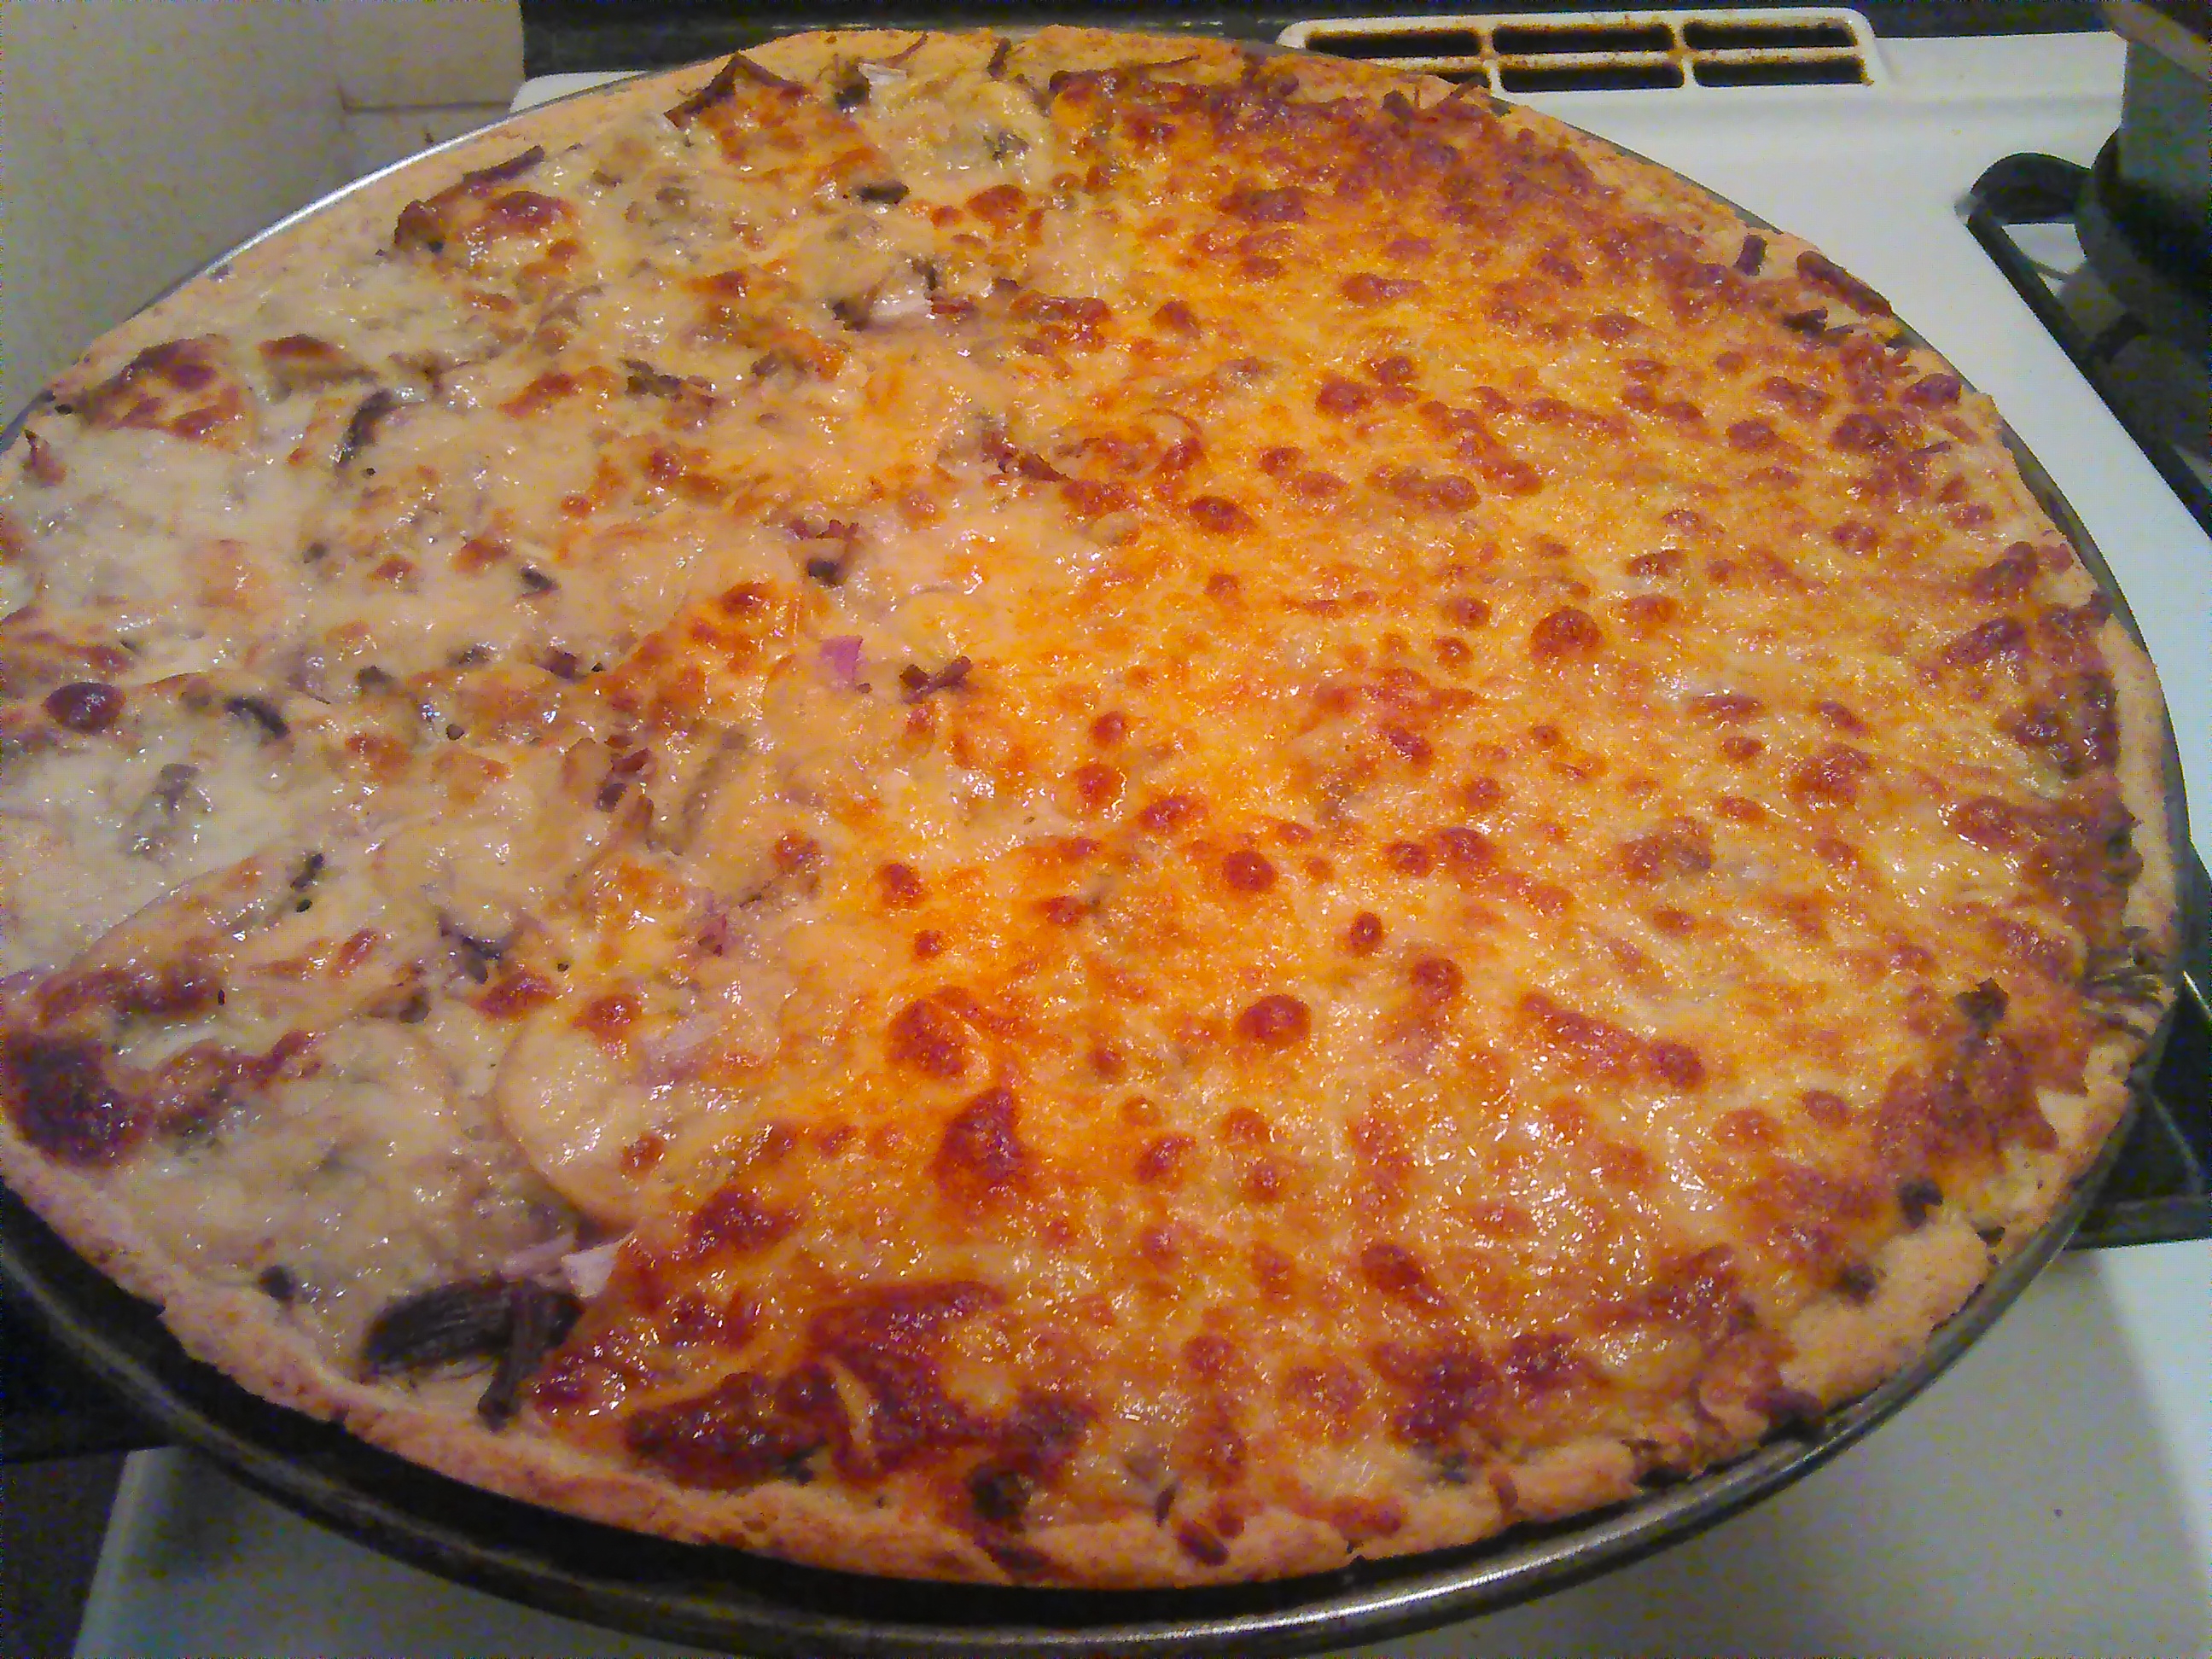
As you can see by the pics, my half is on the left.

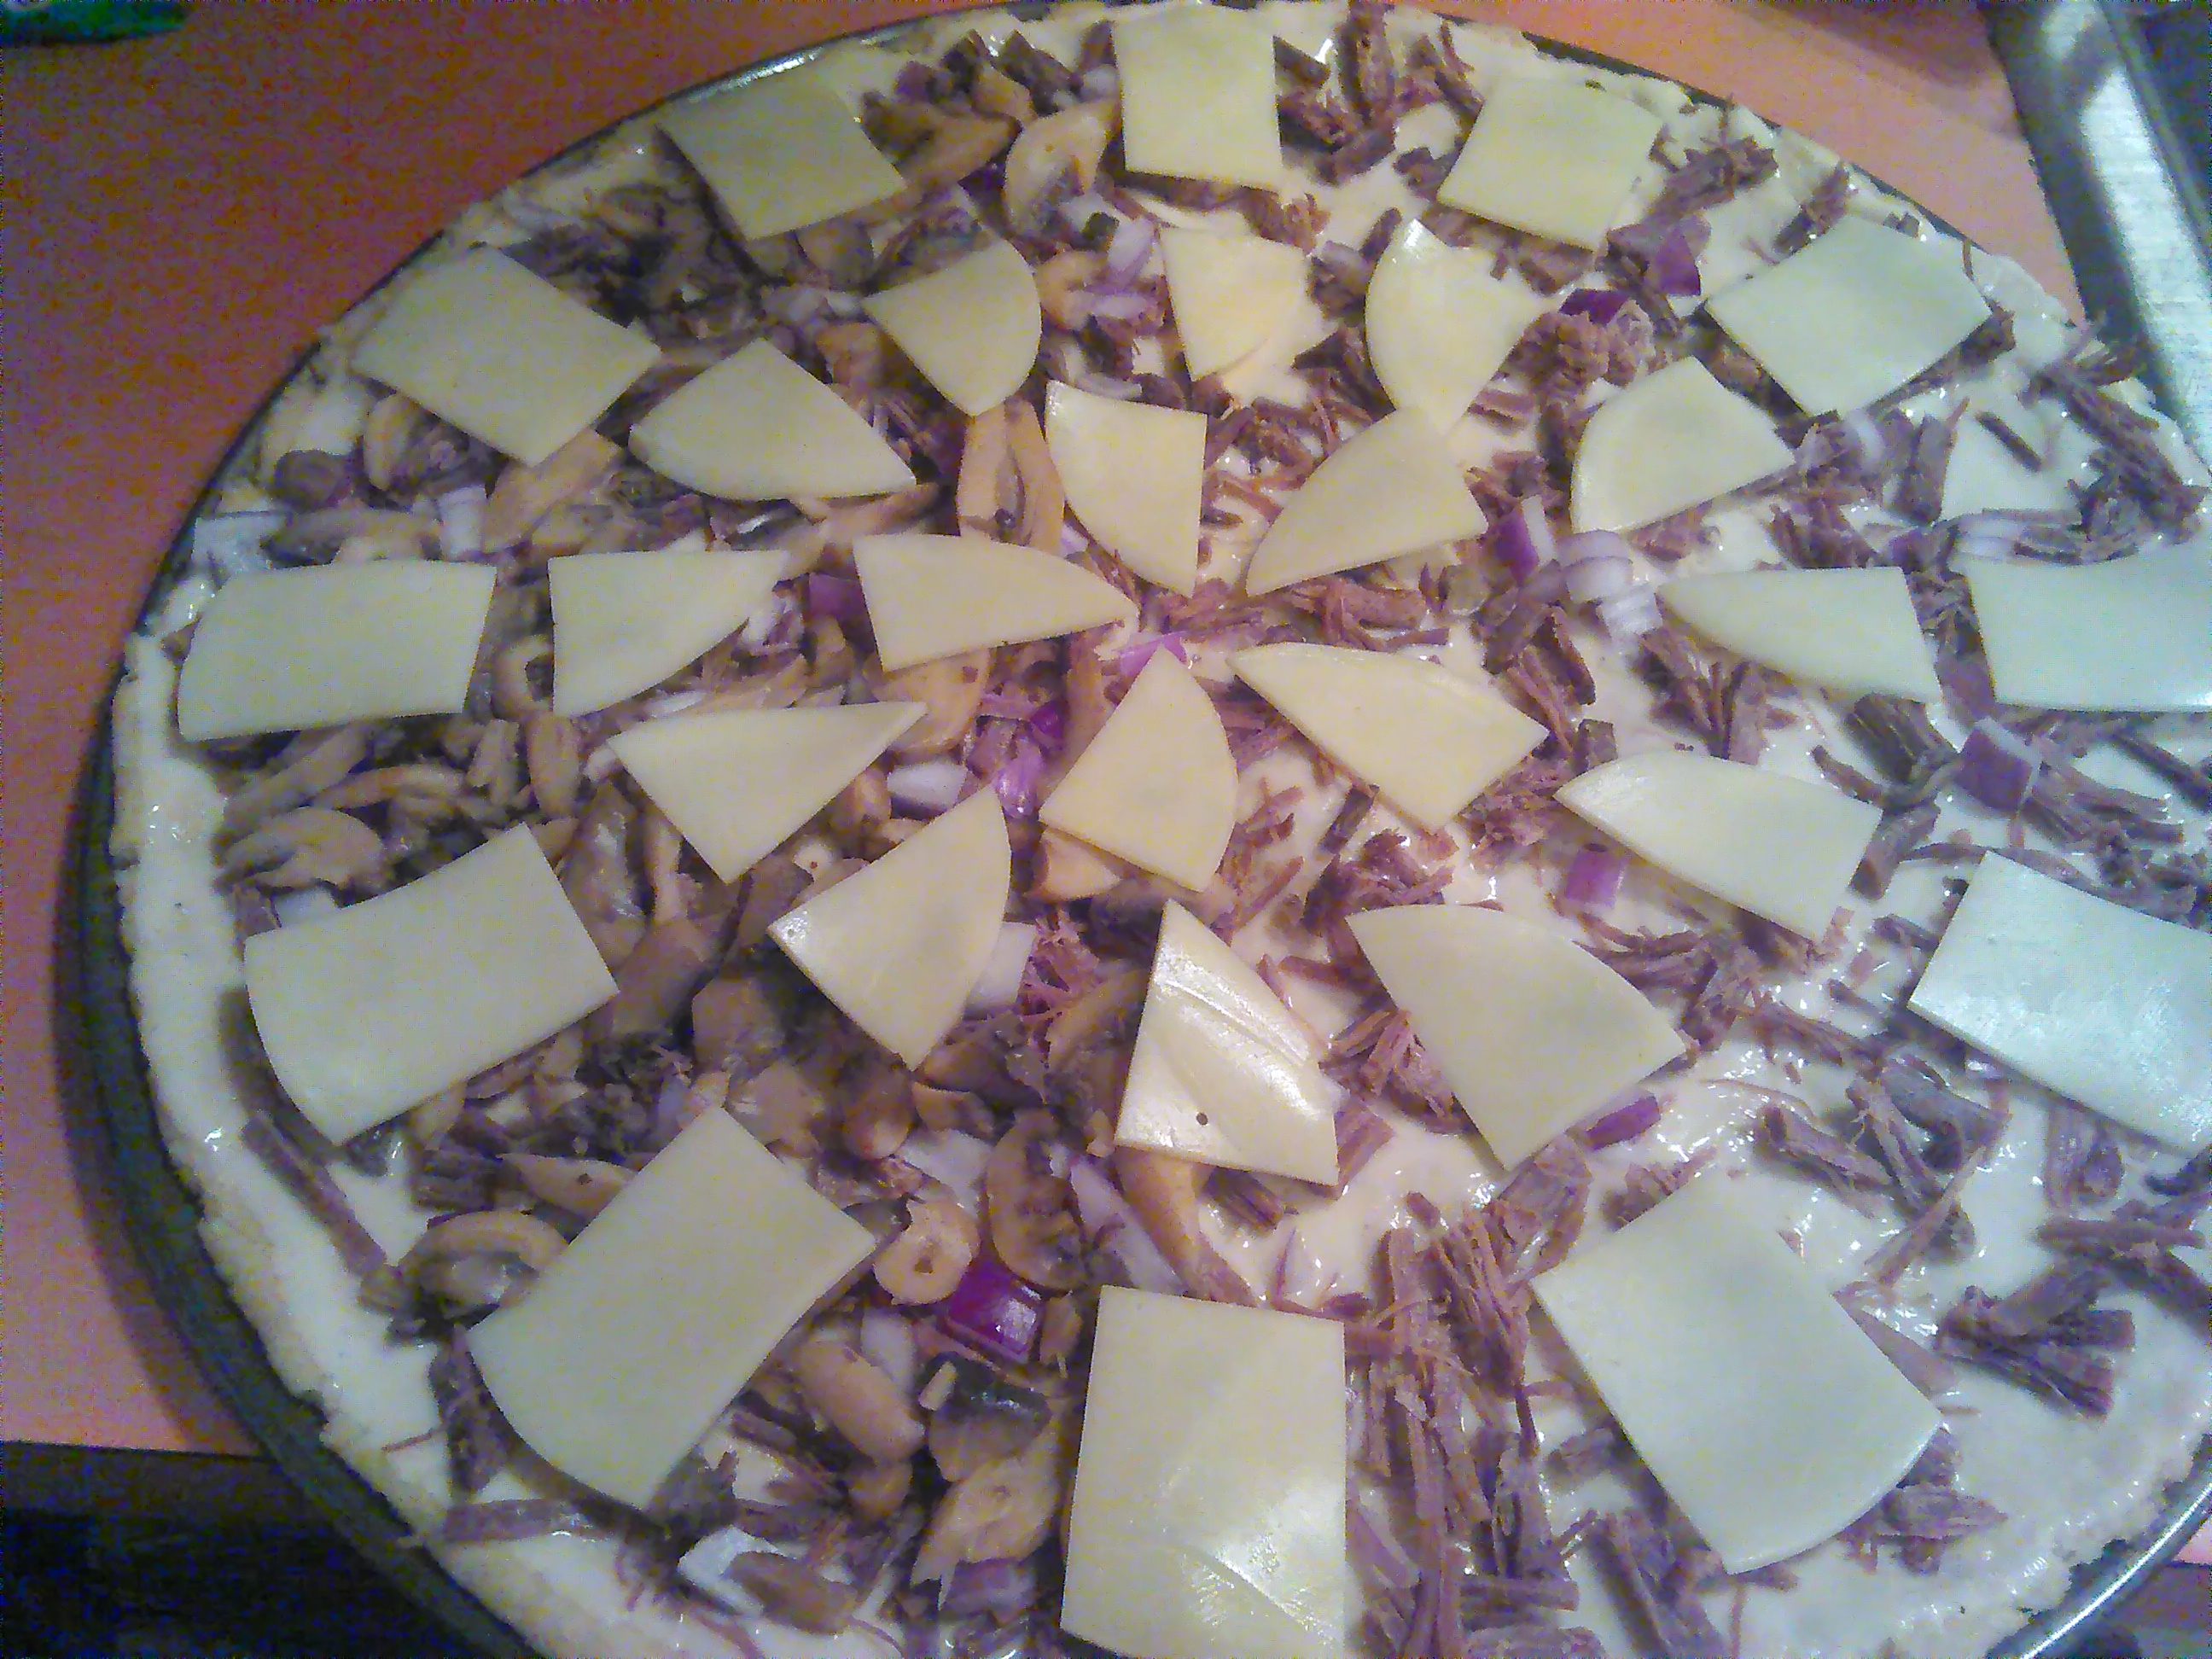
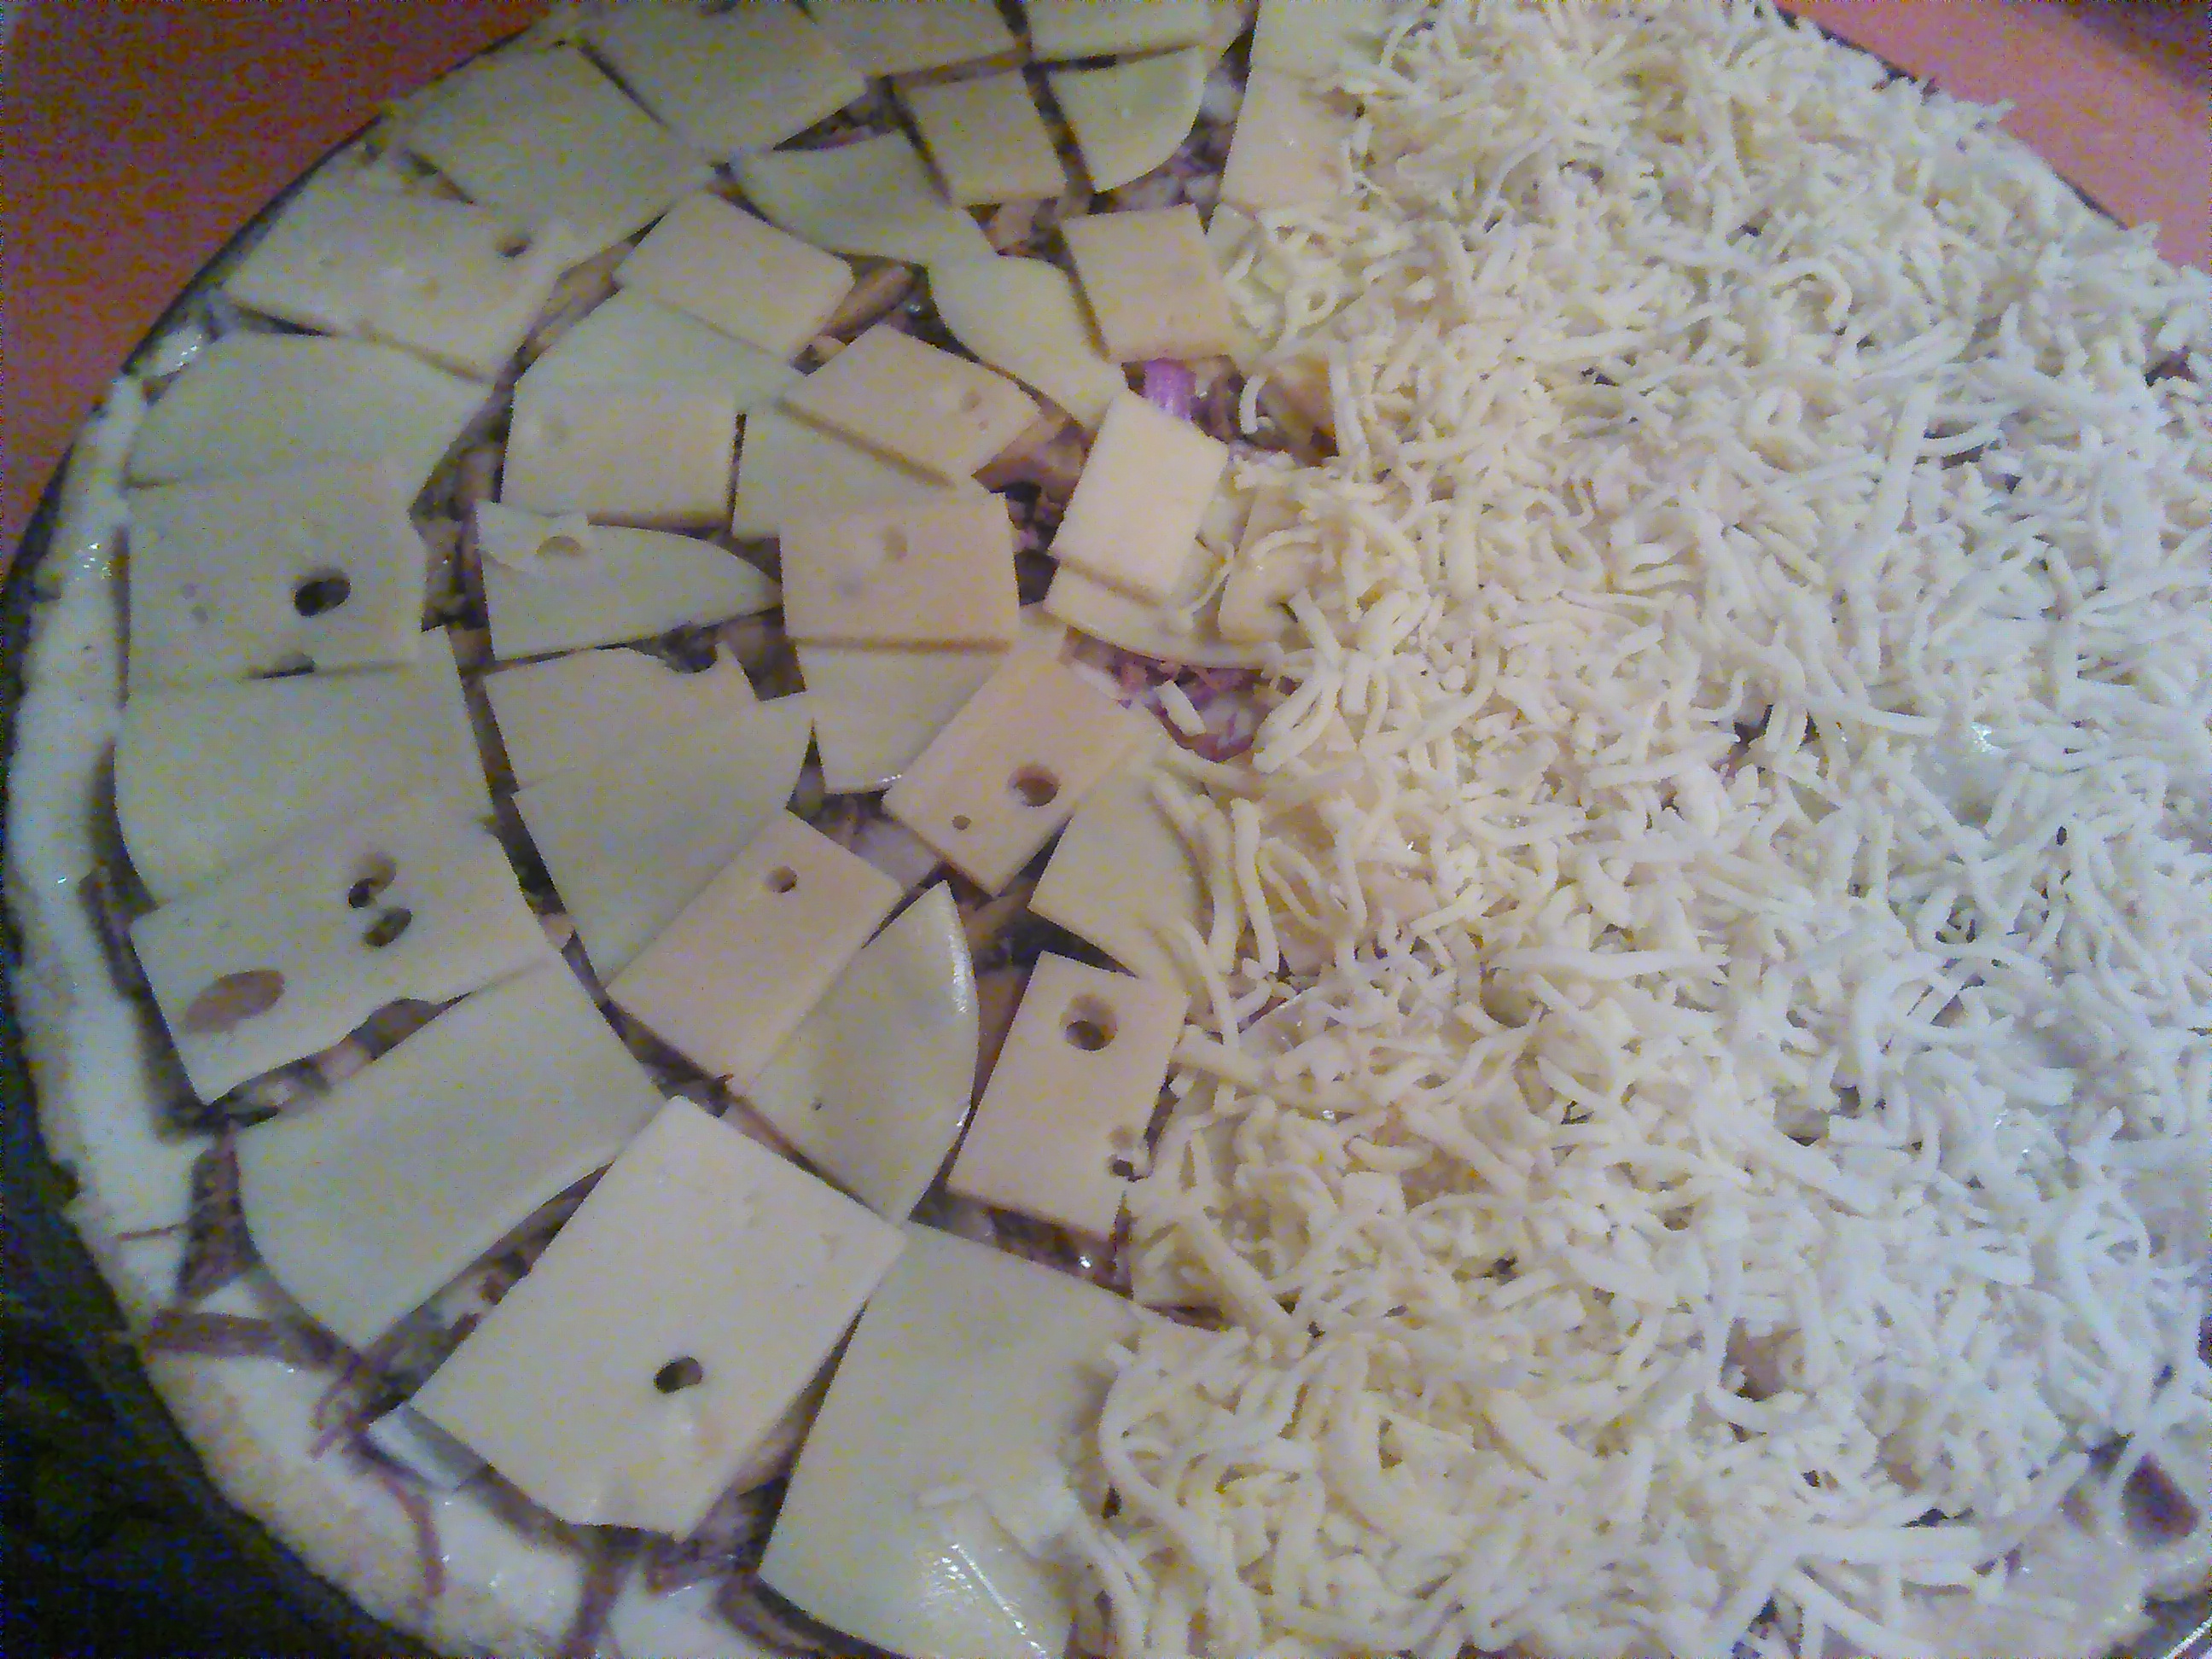
The last layer is the cheese. I buy the provolone presliced but the swiss here is cheaper in the block so I slice it myself. For the provolone I stack the slices then cut the stack in half, combine the stacks and cut them in quarters. I try to slice the swiss as thin as the provolone is then I stack the slices and cut them into chunks roughly the same length as the provolone pieces. I lay out one of the cheeses using a clock pattern, making as many rings of cheese as the crust size will hold then I fill in the gaps with the other cheese. The pics show a 16 inch crust.

IMG_20230112_203315IMG_20230112_203831

Yes, there is shredded mozarella on his half, he likes it that way, I don’t. No matter what kind of pizza I make he insists on the moz. He’s weird that way.

Bake in a 400F oven until the crust is lightly bowned or, if you’re like me, until the cheese starts to brown which takes 3 or 4 minutes longer. I love it when the cheese is browned too.

I always make pizzas 3 at a time, 1 to eat and 2 to freeze for later.

**** To freeze an already cooked pizza simply let it cool and slice it how you want. I use a dinner plate as my form and cover it with a piece of waxed paper then lay out half of the pizza so it does not hang over the plate edges. Then I add another piece of waxed paper and lay out the other half of the pizza. Cover it with a final layer of waxed paper, grab a 1 gallon freezer bag and carefully slide the paper wrapped pizza from the plate into the bag. Smush out the air, make sure the edge of the waxed paper is tucked inside the bag and seal it up.

I do it this way because I have no way to freeze a whole pizza but I always have 1 gallon freezer bags handy. I have no idea how long you can freeze it for as mine never stays in there more than a month.

Have a happy!

TT

Posted in Cooking Tips, Phase 4, Recipes | Tagged , | Leave a comment